Making the cars my own
The Coastal Titans Railroad operates deep in the jungle of Baja Fibiger and barely gets by as we explore what resources can be harvested from the local area and trying to build a tourist destination at Fibiger Park. So we generally buy second-, and more often, third- or fourth-, hand equipment. This leads to an eclectic rail yard with cars of all sorts of liveries and paint schemes.
Of recent, we have started transitioning to our own livery for a much more uniform experience on the rails. However, our staff is inexperienced and is having to learn and experiment as we go. Here are some of the early results. I'll note that we are yet to get a satisfactory results out of paint barn.
One small box car was found at auction quite cheaply and we figured that would be a good starting point to working on painting techniques. We have also recently converted an old refrigerator car into a Maintenance of Way car that helps keep the tracks clean [aside: Need to make a post of that sometime]. That's the same railcar that was used to prototype the odometer. Both were taken into the shop to be prepared and painted in our new color scheme. Once the painting is satisfactory, we will be adding logos and lettering.
 |
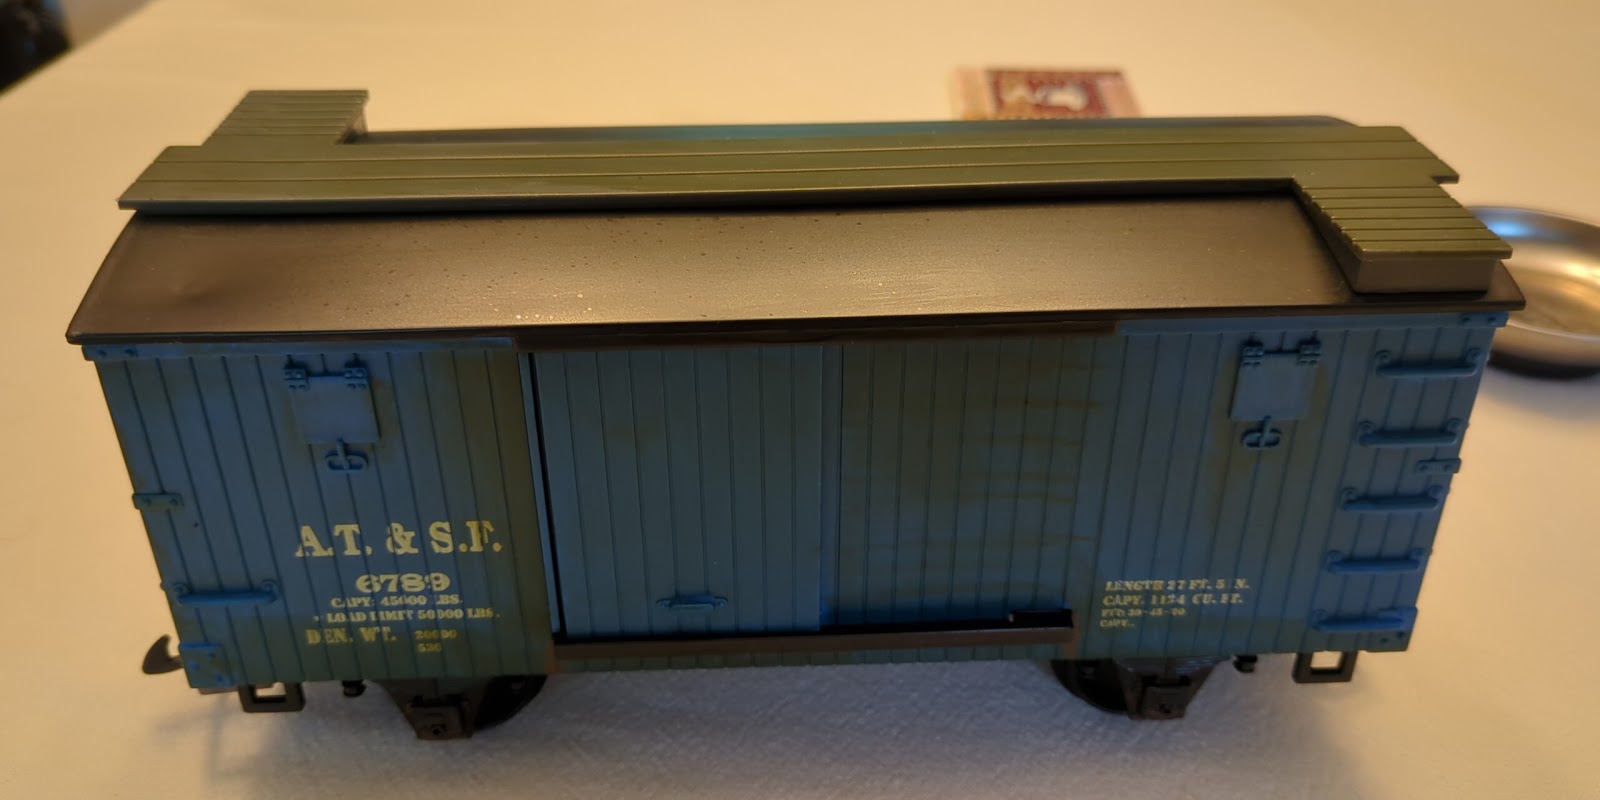
| The practice box car; previously weathered |
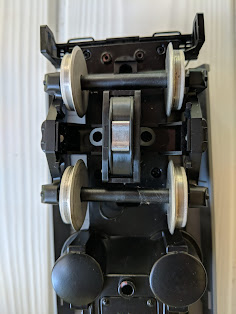
The box car previously was used to practice weathering styles. I was a bit heavy-handed in some spots but not a horrible first attempt. To make things easier, I removed as much as I could from the car. The wheels popped out and the trucks could be unscrewed from the body.
The lower railing that the door slides on is attached from below and comes off after a couple of screws.
 |
| Removing screw that holders door slider |
A few more screws and the frame lifts off the base and the roof pops off.
 |
| Screw holding the truck on |
The ends of the car are plastic attachments so with a little prying I got both of those off. They are a greenish grey so I might repaint in black at the end.
 |
| Cardboard insert to protect the inside of the car |
 |
| Cars fresh from the paint barn |
 |
| Comparison of yellow on green and green on yellow schemes |
I didn't do a great job making clean lines so I'm retrying that. [As I write this I realize that on the last attempt, I had the box car upside so the line is in the wrong place. Oh well, another chance to work on the painting process.]


Comments
Post a Comment